

Let me start by saying this will not be a detailed instruction of the install, just tips I learned, and errors I made. There are some great instructions on many of the forums. I would use those and this blog as a guide.
This is what I will be installing, it’s a Wavetrac Limited Slip differential. It will bridge the gap between a Helical and a clutch type differential. The Wavetrac has gears instead of springs like the helical or plates like a clutch. The Gears will help it so that I wont lose traction if a wheel lifts in a corner or if I hit a curb. The gears make it quieter than a a clutch plate differential.
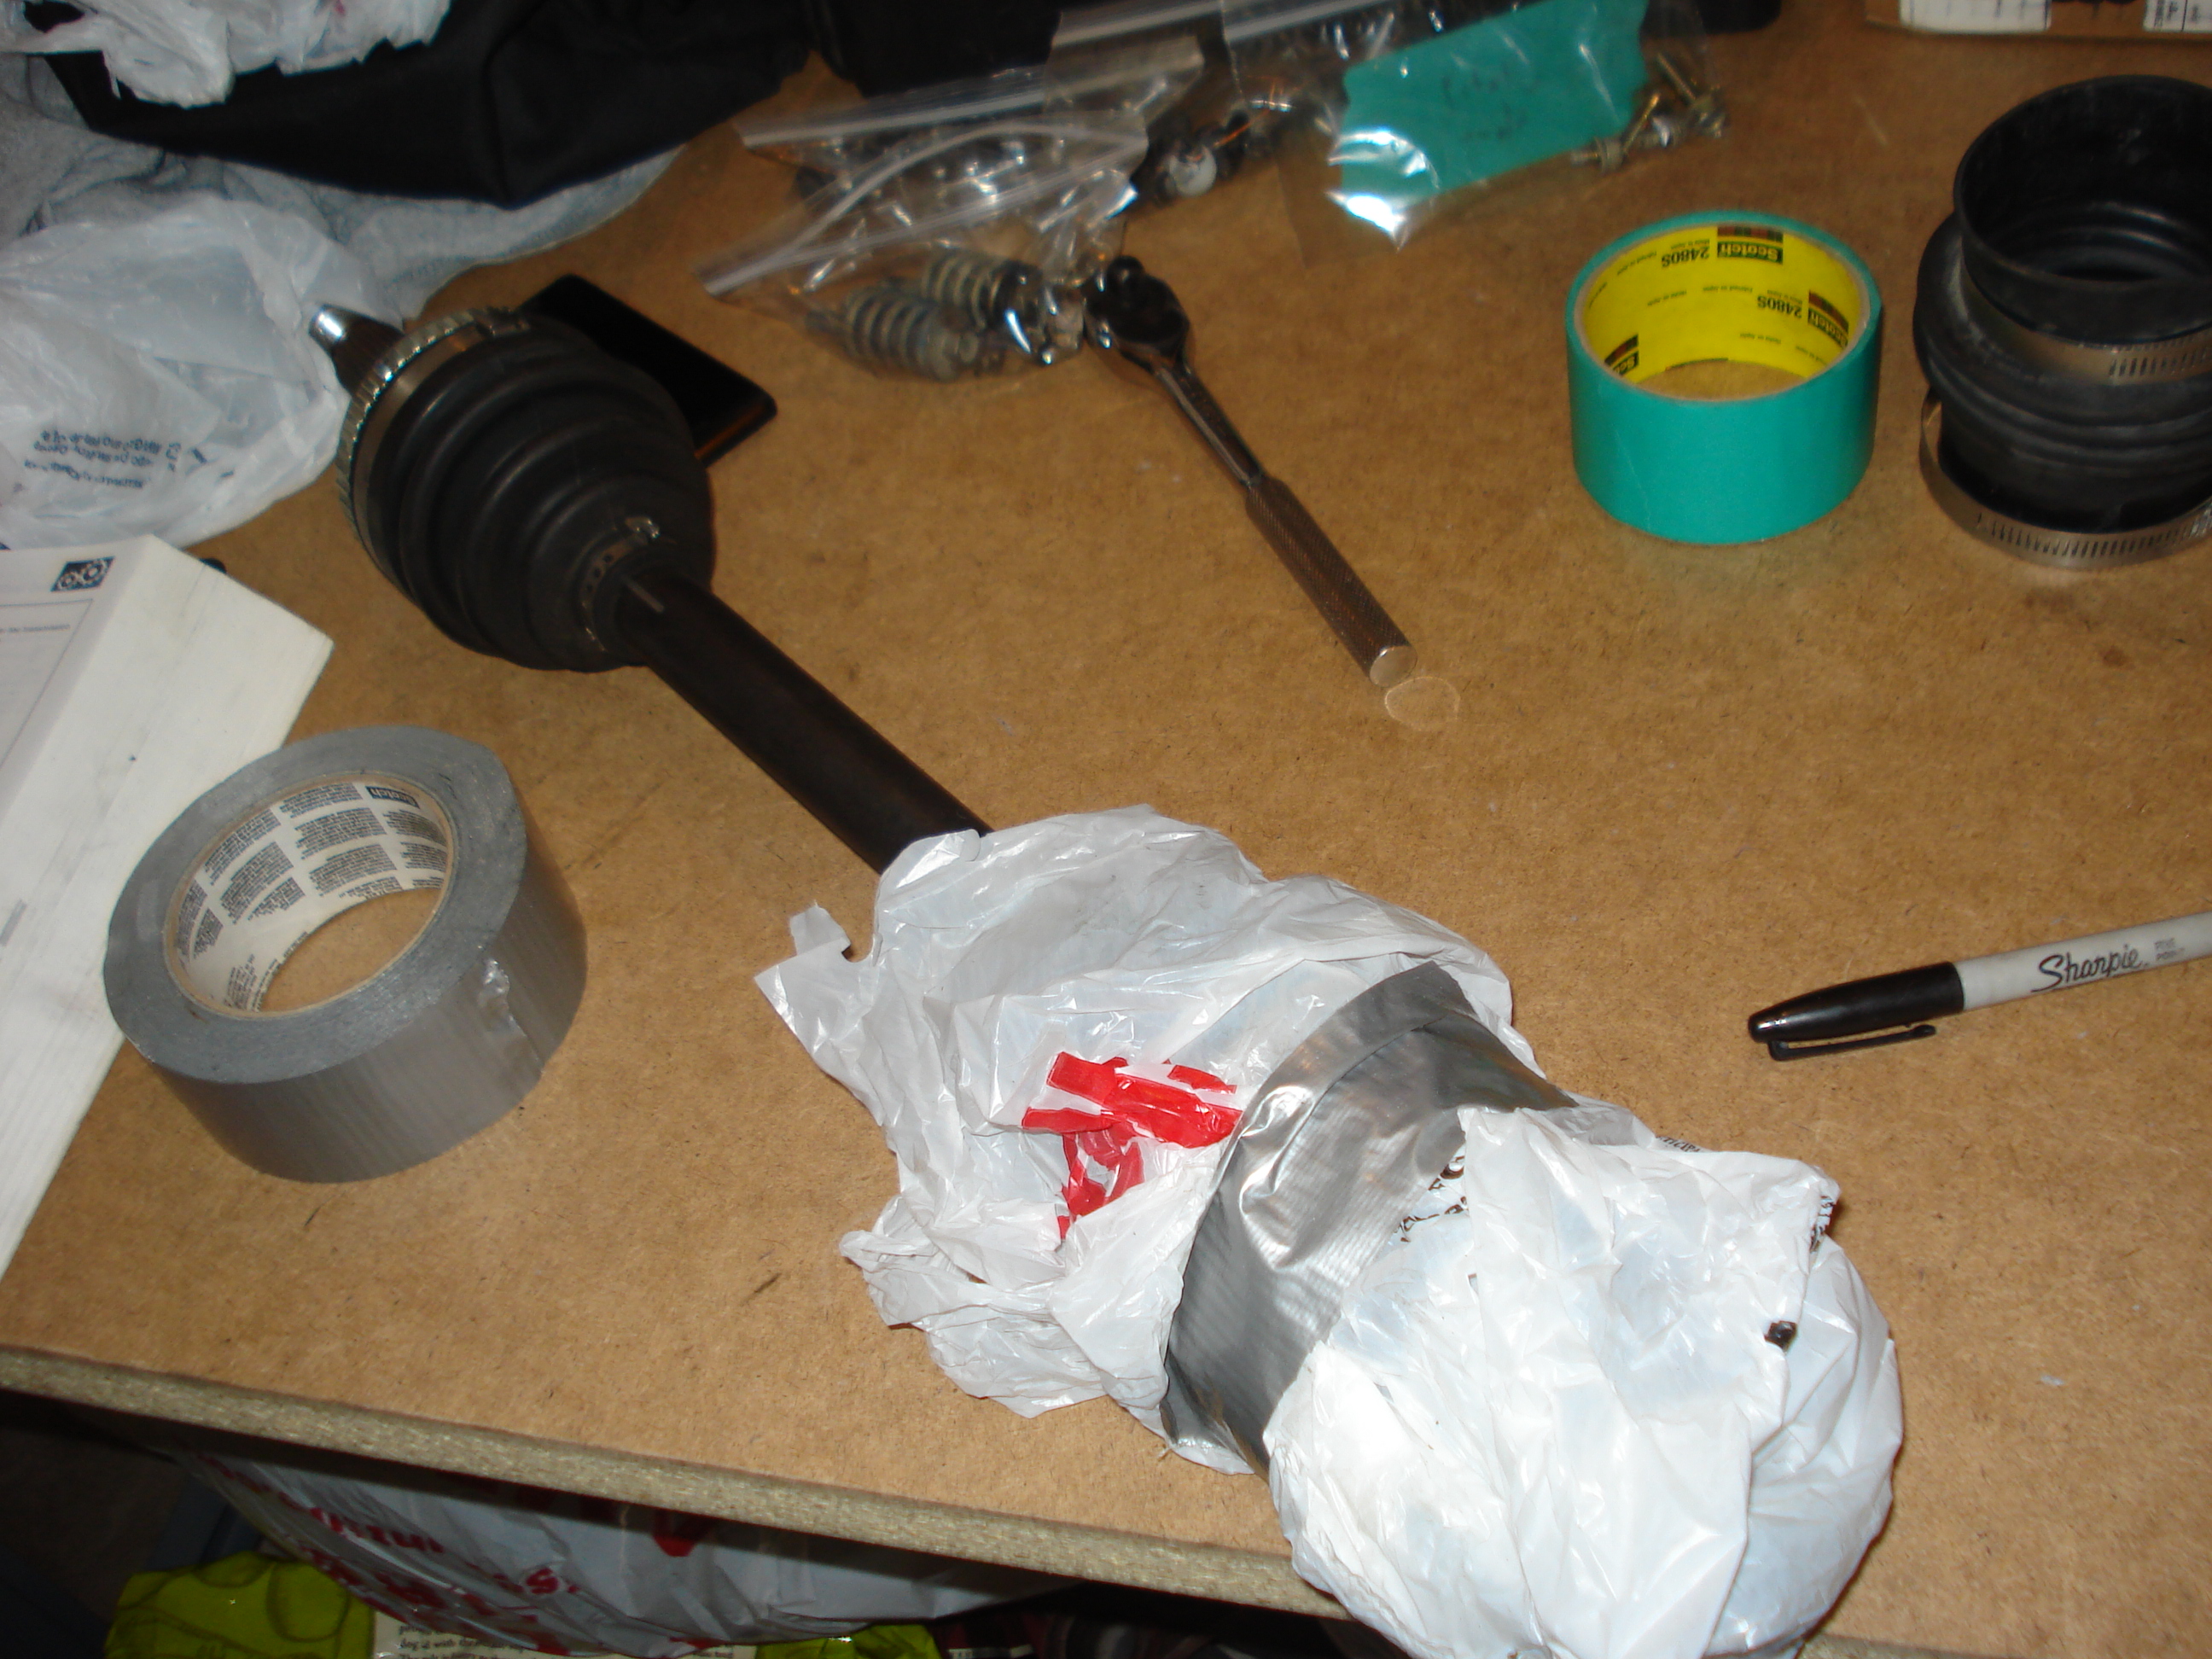
I followed the instructions on how to remove the transmission listed in the service manual, careful to bag and label all parts. This ended up being a great move as the project took so long I forgot where bolts went. This is a picture of the passenger side drive shaft wrapped up to protect if from dirt and damage.
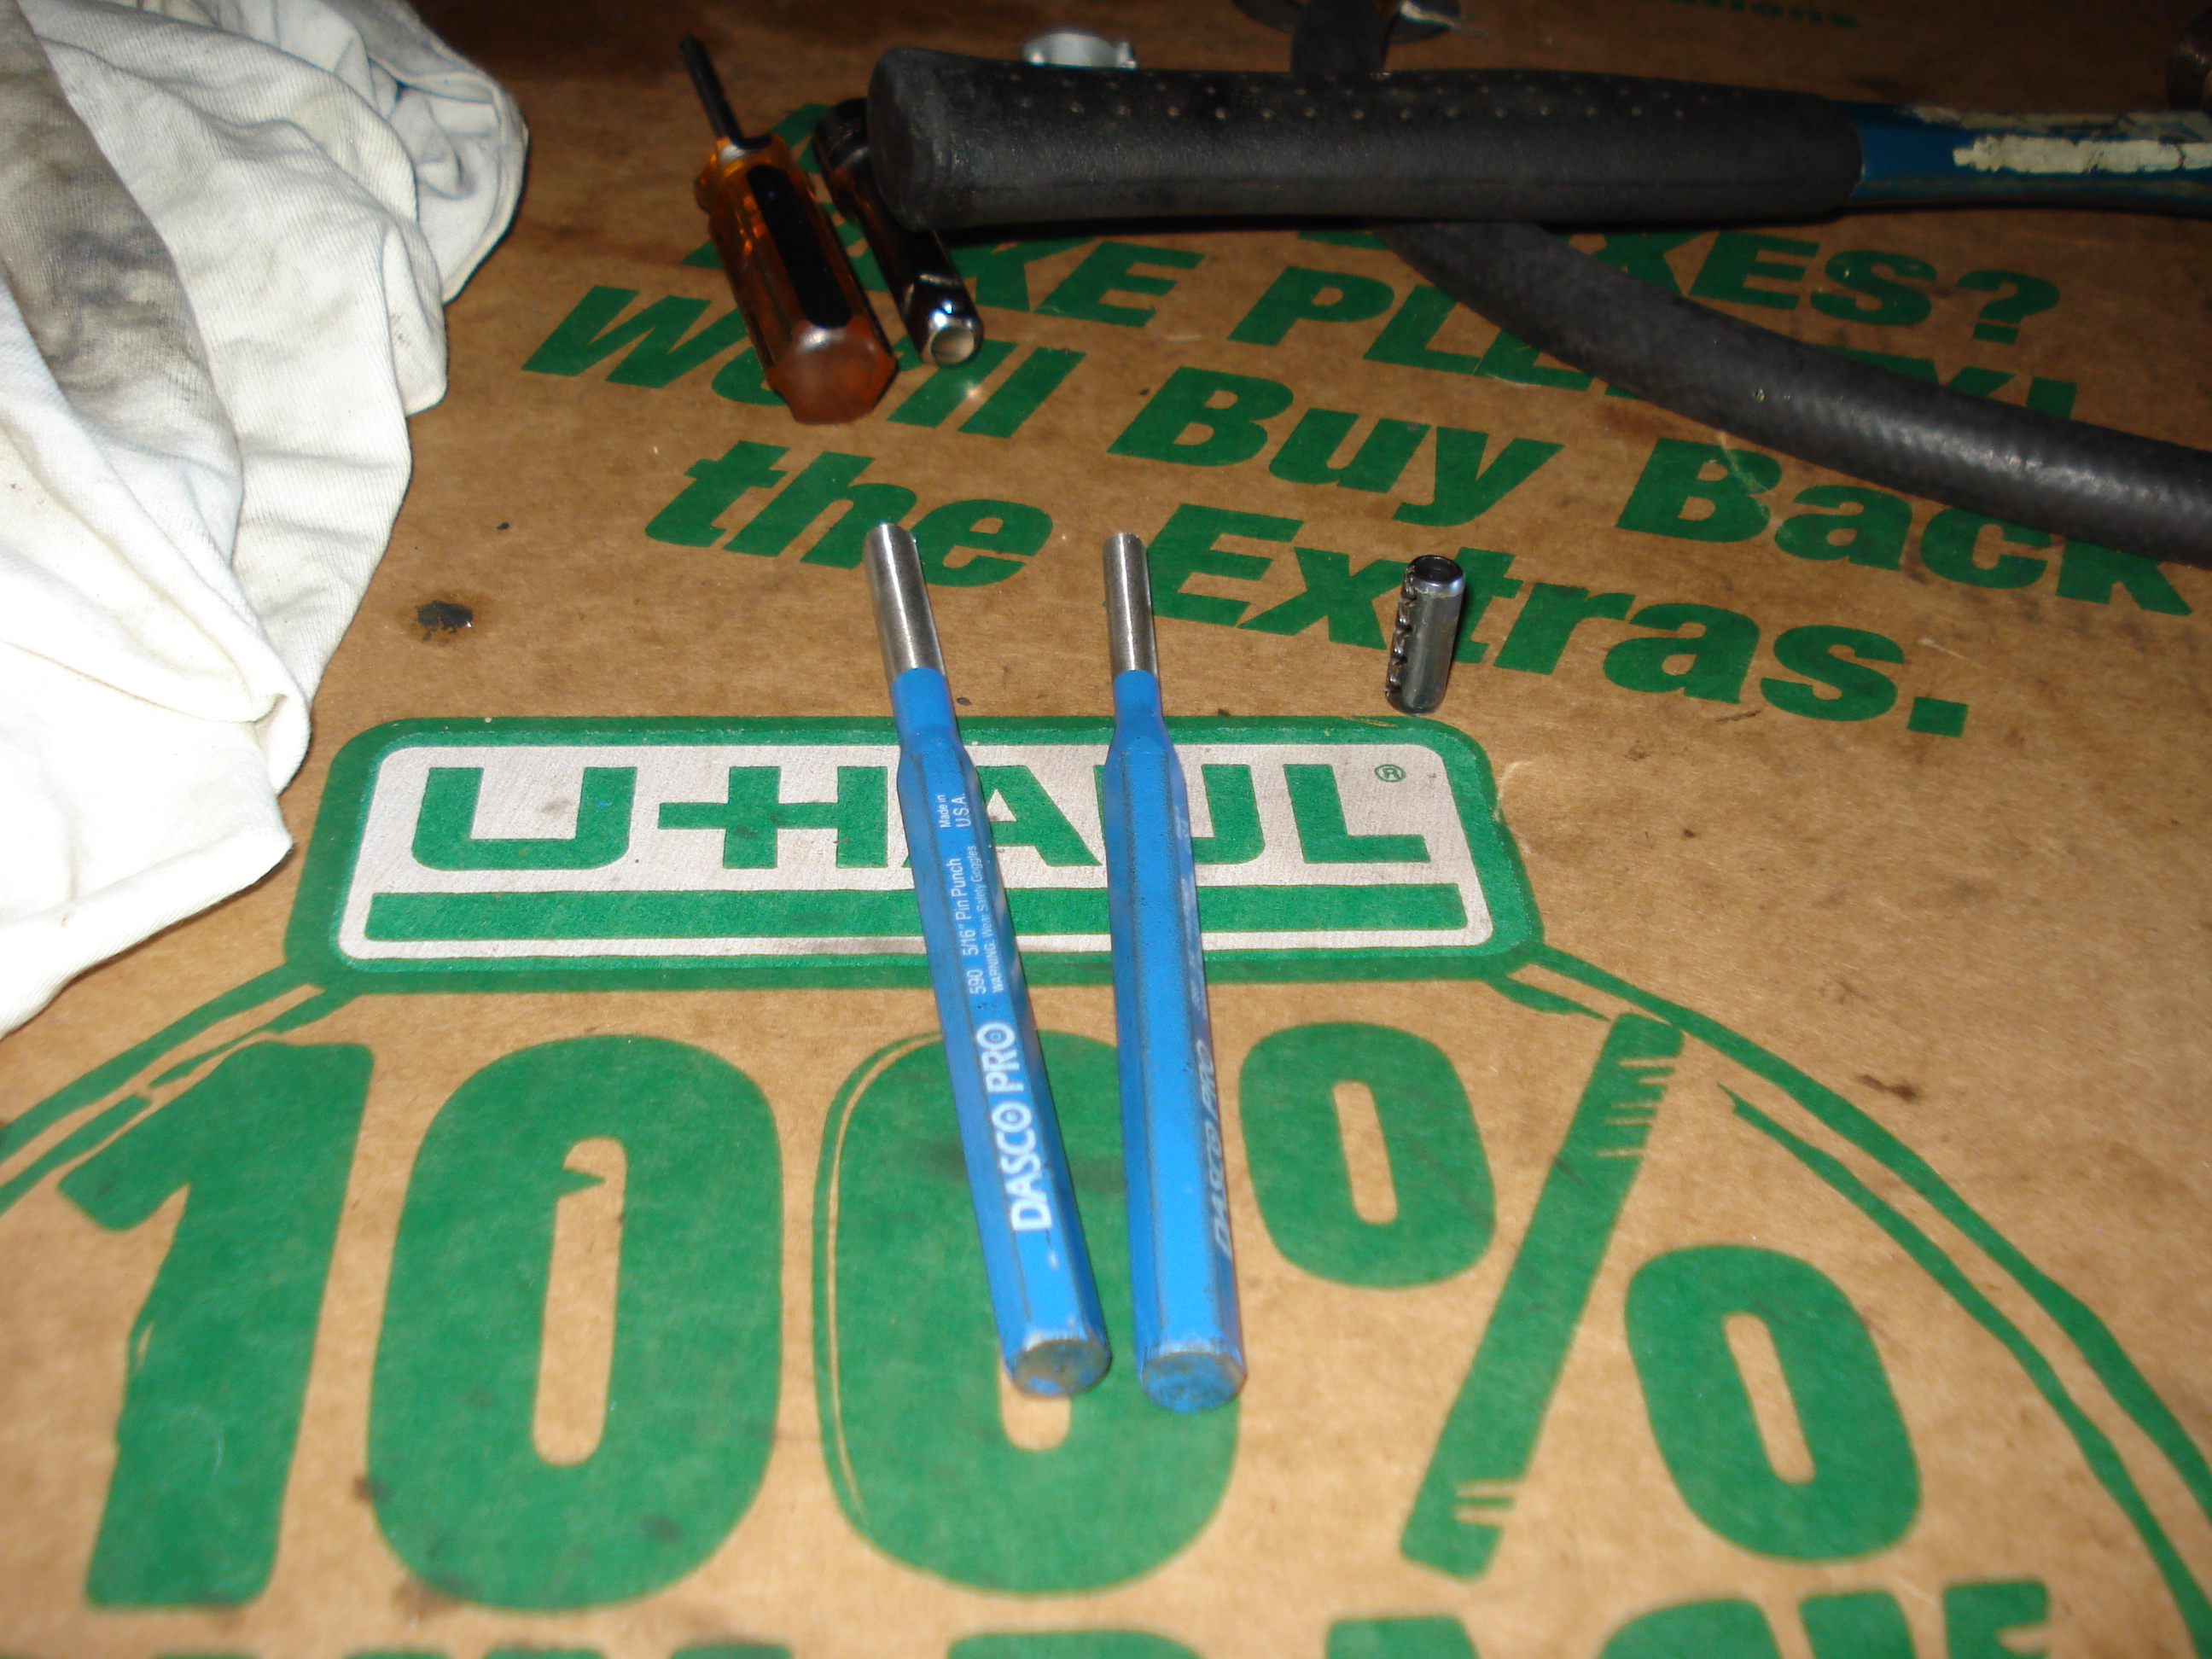
The shift linkage has a spring pin that is required to be punched out for transmission removal. A new one must be forced back in when installing the transmission. There is no way to do this without this tool. They can be purchased at any hardware store.

While the transmission is out it is a good idea to replace the clutch, mine had over 100k miles on it and was in a much need of replacement. good thing I didn’t attend another event I might have been stuck and had to be towed home if this failed.

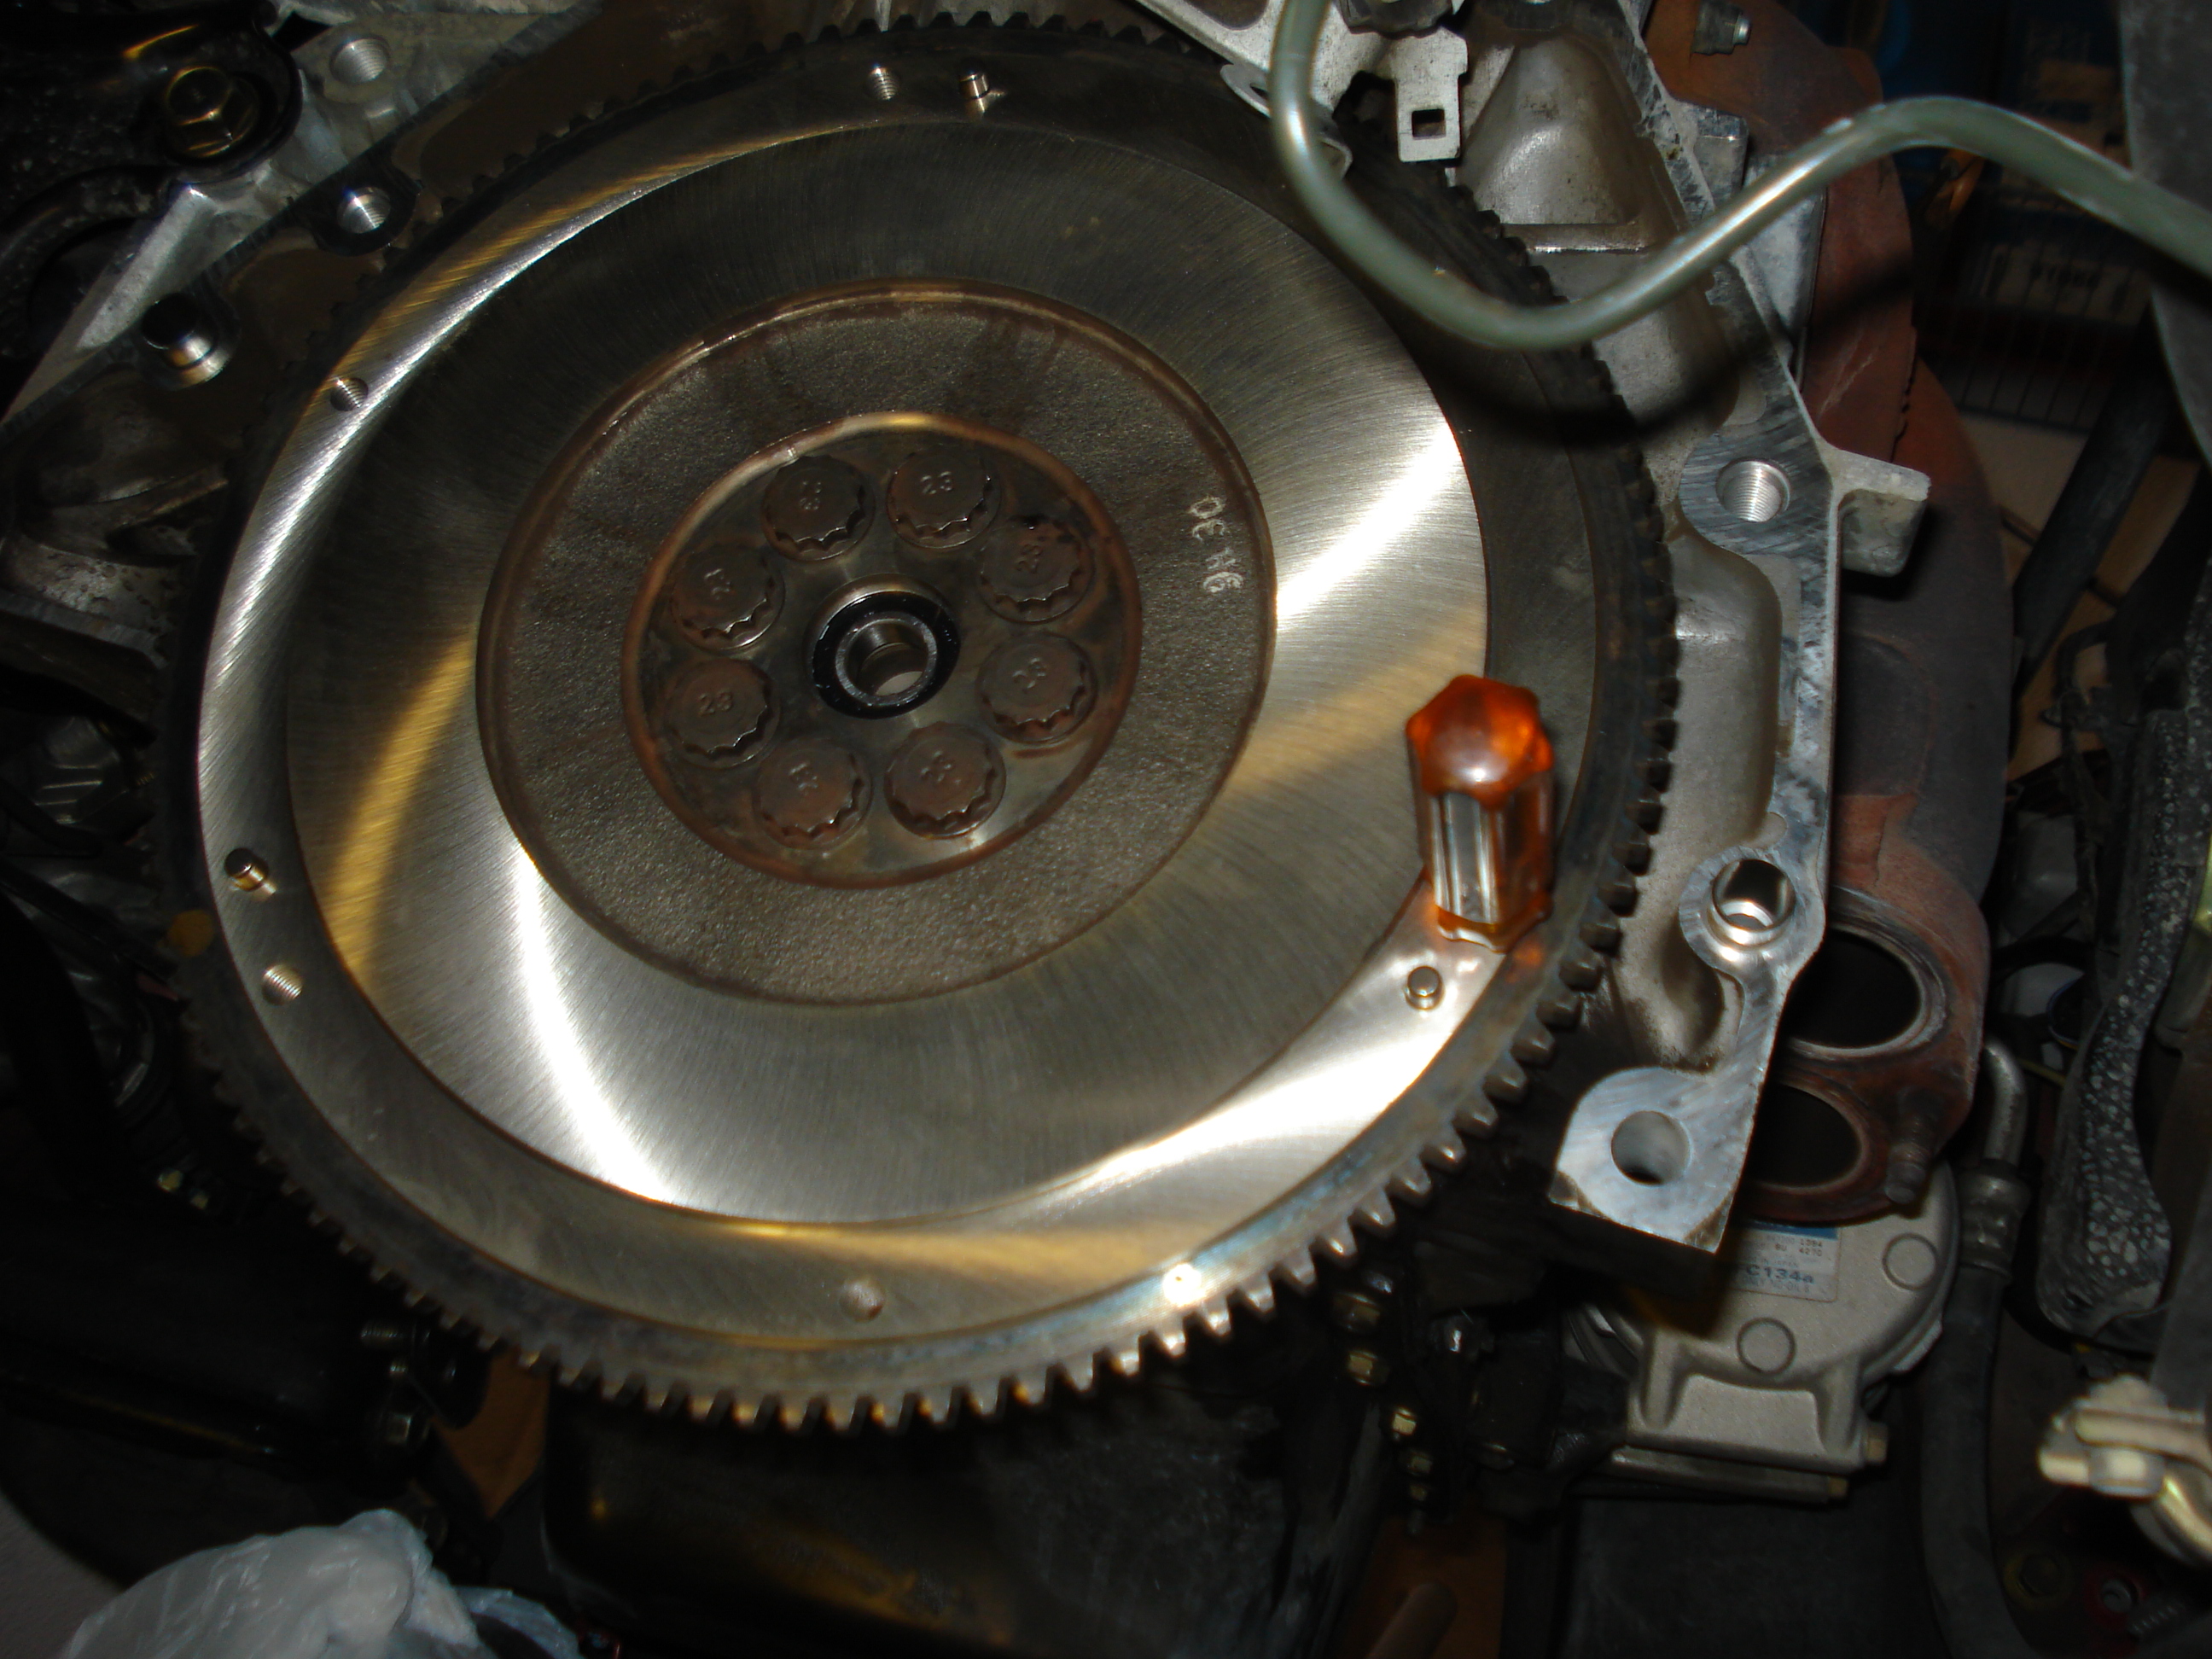
The flywheel must be new or resurfaced when installing a new clutch. You can see the material build up and glazing on my flywheel that must be removed. These bolts can only be removed with a 12 sided socket, don’t try it with a standard 6 sided one, or you might strip the bolt.

A 21 mm socket was the perfect size to push out the flywheel bearing. A new one must be installed anytime a new clutch is installed. The clutch kit came with a new flywheel, and a throw out bearing witch also must be replaced before install.

Another thing I discovered was how worn my pressure plate was. The throw out bearing was defiantly bad and thankfully I caught it before another trip to the track.
Here is the trick to torquing down the flywheel bolts. I stuck a screw driver trough the mounting holes for the clutch. This is how the resurfaced fly wheel should look, the work was performed at a machine shop here in town.

Here is the clutch plate on the fly wheel. This piece only fit on one way and the holes had to be enlarged to get it to fit flush on the flywheel. I”m not sure if this is because of the tolerances being too tight or just poor build quality of the plate. This was one of the big set backs on this project because this was not discovered till later on in the build.

Once the transmission is out, and you followed instruction for removing the case this is what you should have. Notice the the transmission is on 2 x 4’s to make sure not to damage the input shaft. I thoroughly cleaned out the top half of the case to make sure the new fluid would not be contaminated when it is put back together.

Here is another tool needed for the job, a gear puller. I had to get creative to figure out a way to pull off the VSS gear and this was it. I used 2 layers of steel as a base and plenty of wd40 on the gear, it came off with no issues.

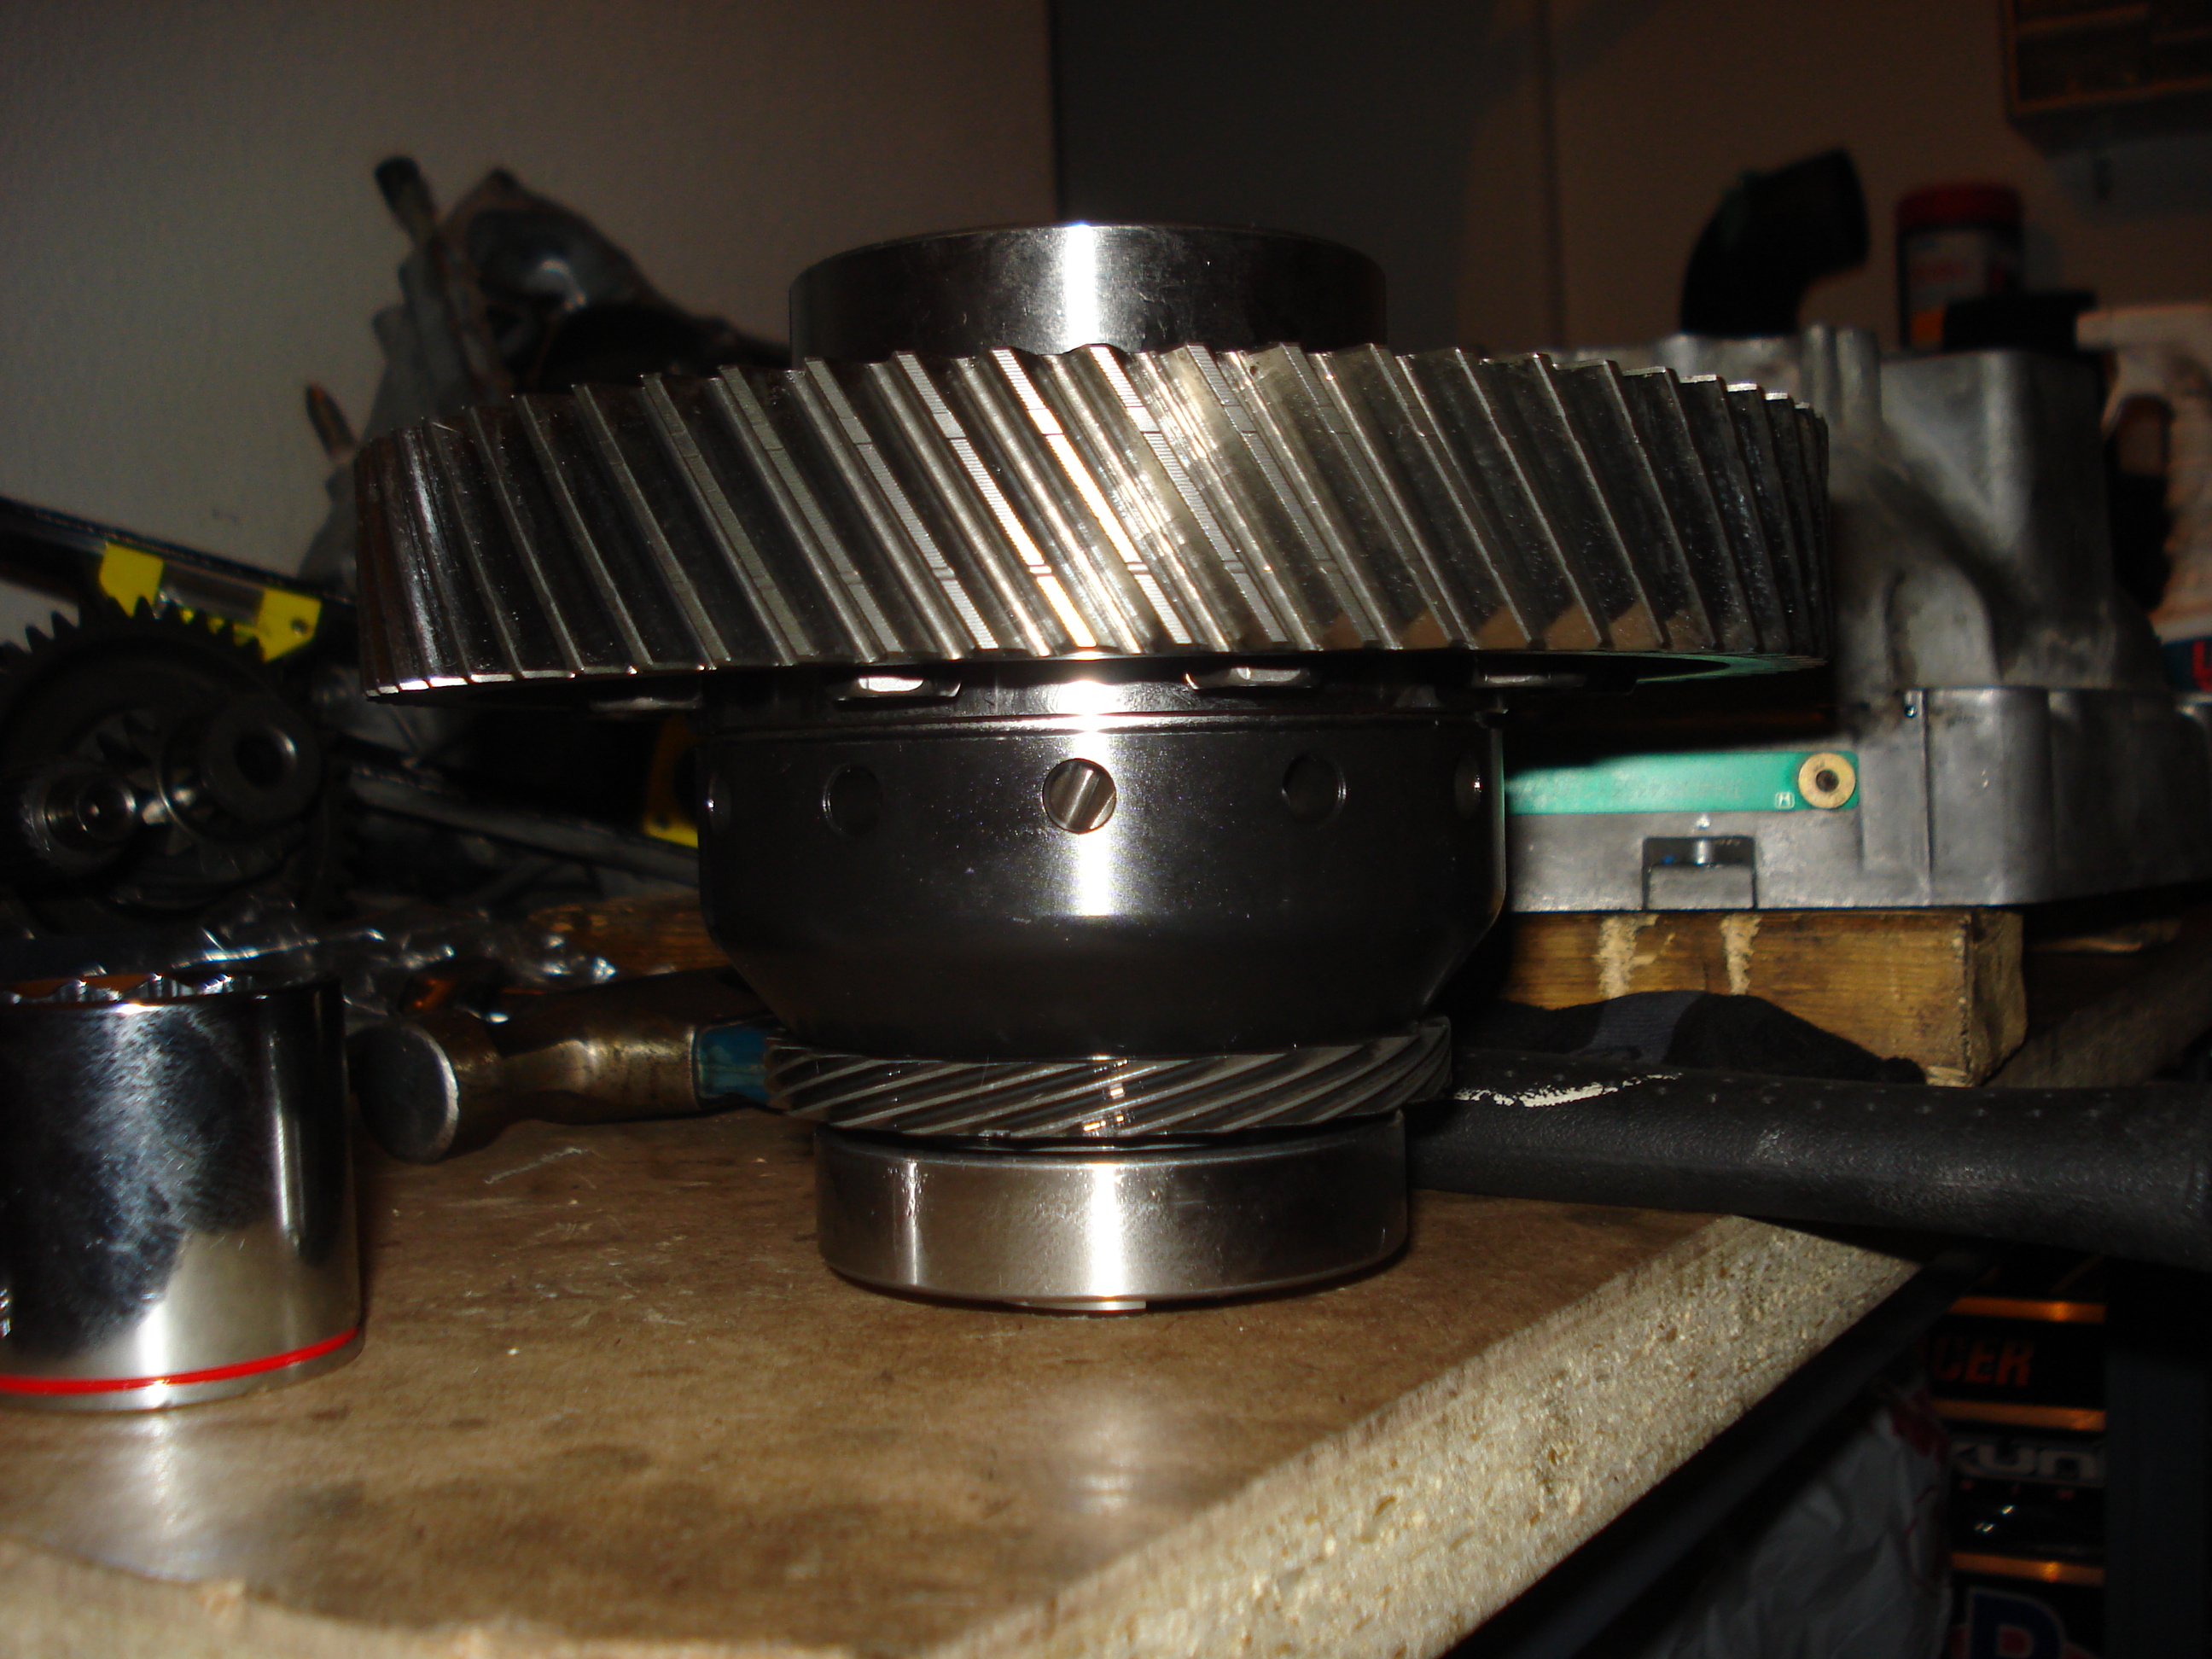
Here is the ring gear and the new bearings on the wavetrac differential. The bolts on the ring gear are reverse threaded and should be replaced at this time. I locked the differential in a vice to torque the bolts to the correct amount.

Here is where the problems started. I looked through parts lists and found that there are different bearings for the GSR and LS engines. The GSR transmission has shims to get the proper gap between the bearings and case half’s. The LS only has one shim so the bearing needed to be taller, but when I installed the diff into the case it stuck out about an 1/4 of an inch, not good. The answer, there are actually 3 different sizes one for the type R along with the other two, I had the typer R which are taller than the LS and caused the diff to stick out of the case. So after a few weeks of searching and shipping I was now back on track.

If you have an Integra Type R you need the one on the right, I needed the one on the left

Before sealing the case half’s back together I used a scotch brite pad to remove any left over glue. Use hondabond to seal the cases and prevent any leaks. The install is just the reverse of the removal. I had no problems during the re install except for a tight fitting drive shaft on the passenger side, this might be from the tight tolerances of an aftermarket LSD meeting with an after market drive shaft. I don’t think this would have happened if i had stock drive shafts.

I filled up with 3 new cans of Redline gear oil, this was the same stuff that I put into the box 75,000 miles ago and the gears looked great so it went back in. I just need to break the clutch in for 500 miles of street driving (no highway) and should be good for the next event. I have a lot going on right now so I’m not sure when that will be so stay tuned and keep an eye out for us on the tracks soon.
